Start your TRX workout with supported squats, rows and presses, then progress the setup
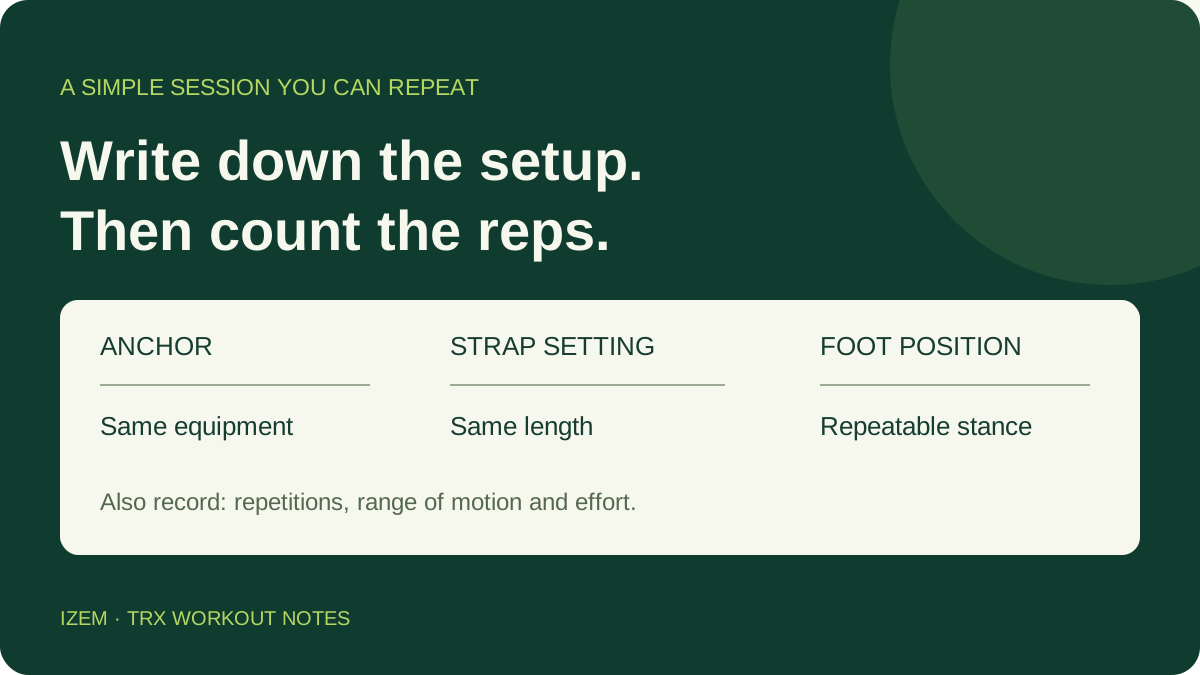
For your first TRX workout, choose an easy body angle and do one controlled set of each exercise below. Build toward two sets as you get comfortable. Write down your strap settings and where your feet start so you can repeat the same workout next time.
This example is for generally healthy adults learning suspension training. If you have an injury, a medical condition or trouble with balance, get advice on suitable exercises before trying it. Stop a movement that hurts.
Check the anchor before you put weight on the straps
Inspect the straps for wear, use the anchoring system supplied for your trainer, and follow its installation instructions. Test the mounting as directed before every session. A door or beam is only suitable if it meets those instructions. Keep the floor clear and dry. TRX's product safety guidance explains the checks.
If you can't confirm the setup is secure, leave the straps unloaded and ask the manufacturer or a qualified trainer for help.
Use this short routine to learn the movements
Warm up with a few minutes of comfortable movement, then rehearse each exercise at an easy setting. Start with one set. Rest long enough between exercises to regain control of your breathing and technique; you don't need to race through the list.
| Exercise | Starting amount | Setup |
|---|---|---|
| TRX supported squat | 8 to 12 reps | Mid-length straps; face the anchor |
| TRX low row | 8 to 12 reps | Short straps; face the anchor |
| TRX chest press | 8 to 12 reps | Long straps; face away |
| TRX supported split squat | Up to 8 reps per side | Mid-length straps; both feet on the floor |
| Floor glute bridge | 8 to 12 reps | No straps |
| Modified floor plank | Hold for 3 comfortable breaths | Forearms and knees on the floor |
Use fewer repetitions if you need to. On the first visit, finish a set while you could still do a couple of controlled reps. Add a second set once the movements feel familiar and you're recovering comfortably. The amounts above are a starting example, not a prescription for every reader.
The floor exercises let you work on your hips and trunk without learning foot-cradle exercises at the same time.
Supported squat: keep your feet planted
Hold the handles and sit your hips back as you bend your knees. Stand by pushing through your feet. Use the handles for the assistance you need; keep that assistance similar across the set.
Low row: bring your chest toward the handles
With straight arms, lean back slightly. Pull the handles toward your ribs, then lower slowly. Keep your hips in line with your torso. Start fairly upright.
Chest press: lower your body between your hands
Face away from the anchor with the handles in front of your chest. Bend your elbows, then press back. Keep your trunk steady and choose an upright angle you can control.
Split squat: lower straight down between your feet
Face the anchor in a staggered stance. Bend both knees, lower comfortably, then stand. Keep both feet on the floor and use the handles for support. Repeat on the other side.
TRX's exercise instructions give more detail. Its strap-length guide recommends short straps for rows, long straps for presses and mid-length for many standing moves. Adjust within the manufacturer's instructions for your height and space.
Glute bridge: lift your hips without arching your back
Lie on your back with knees bent and feet flat. Tighten your abdomen, press through your heels and lift your hips. Lower with control. ACE's bridge instructions explain the movement and the back-arching mistake.
Modified plank: keep breathing while you hold
Rest on your forearms and knees, with shoulders above elbows. Keep your head and neck in line with your back. Hold only while you can breathe and maintain the position. Mayo Clinic demonstrates the modified plank.
Make rows and presses harder with a small angle change
For a row, moving your feet a little toward the anchor generally lets you lean farther back. For a standing chest press, moving your feet back toward the anchor lets you lean farther forward. Reverse the change to make either exercise easier.
Those cues apply to these two movements. Foot position works differently across exercises, especially when the straps assist a squat. Keep the same range of motion and avoid changing strap length, stance and repetitions all at once.
Once the top of your rep range feels controlled across your sets, try one small adjustment next time. Expect fewer repetitions at first. If you lose position, return to the easier setup.
Record the setup so more reps mean something
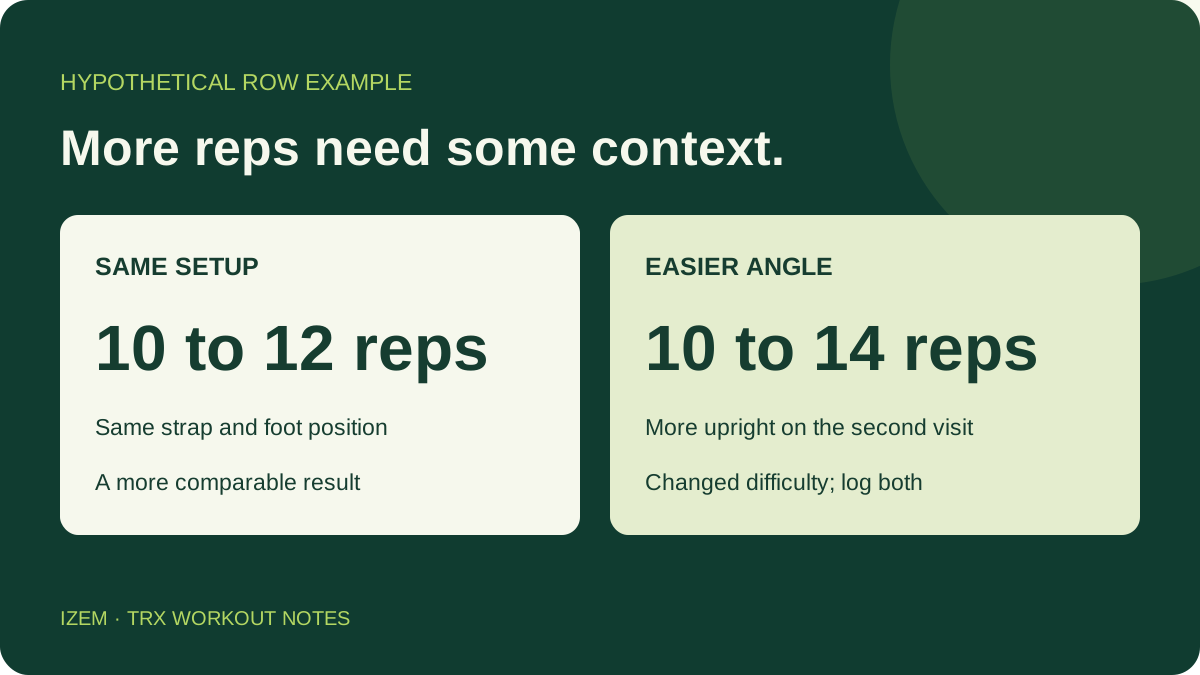
Imagine you do 10 rows on Monday. On Thursday, you stand farther from the anchor, stay more upright and manage 14. The extra reps came with an easier angle. That alone doesn't show that you've become stronger.
A fairer comparison is 10 reps becoming 12 with the same foot position, strap length and range of motion. Or you might repeat 10 reps at a slightly harder angle. These are examples of what to record, not promised results.
Give each setup a plain description you can reproduce: which anchor, which strap setting and where your heels sit on a floor marking. If you change gyms or use a different trainer, record a new baseline. Don't convert the angle into an invented kilogram load.
| Exercise and date | Anchor / straps | Feet / assistance | Reps or hold | Effort / next time |
|---|---|---|---|---|
| Row: example only | Gym rack / short | Heels at marked seam | 10, 10 | About 2 reps left; repeat setup |
| ________________ | ________________ | ________________ | ________________ | ________________ |
For a squat, note how much you relied on your arms. For a plank, note whether your knees stayed down. Those details help explain a change in performance.
Leave a recovery day between your first sessions
Two sessions on separate days, such as Monday and Thursday, are a practical starting schedule. The CDC recommends muscle-strengthening activity at least twice a week, covering the major muscle groups. Build up gradually if you're inactive, and allow more recovery when you need it.
You can add walking or other activity you enjoy on different days. If you already lift weights, count this session as part of your training before adding more work for the same muscles. Our guide to rest between sets explains how breaks affect the work you can repeat.
Use a plan you can repeat before adding more exercises
Keep this session in your notes for the next visit. Change an exercise when it doesn't suit you, and record the replacement so the next comparison stays useful.
If you want help organizing your week, IZEM supports workout planning around your equipment and schedule, plus set logging. Check that the movements you need are supported before relying on an app for this routine. Ask a qualified trainer to check unfamiliar movements and your anchor setup in person.